A-Frame Level: An Essential Tool for Swale Building
Swales are passive water harvesting earthworks (aka Berm and Basin or swale) that also help prevent soil erosion and serve as a foundation for building biodiversity on a property. With drought conditions getting worse over the past few years and our current methods of irrigation being unsustainable; most any property could benefit from the addition of swales.
The A-frame level is my favorite of the contour marking tools for smaller jobs as it can be used without the help of another person. Your alternatives are a Bunyip water level and a transit (surveyors) level; both of which requires two people. This design is also collapsable via some quick release wing nuts that allow it to fit in the back of a truck or car.
I’ll apologize in advance – I started taking photos of this build when I was almost done with it so I did my best to re-create some of the shots to help support the instructions.
Parts Lists
- 2 – 8′ 1″x2″ Fir Strips (or any 1″x2″)
- Small level with mounting holes (9” or so)
- Two small wood screws (1/2″ long and about 1/4″ dia +/-)
- 1 – 2.5″ x 5/16″ hex head (with no shoulder) *
- 2 – 2.25″ x 5/16″ hex head bolt *
- 3 – 5/16″ wing nuts *
- 6 – 5/16″ flat washers *
- Optional: Stain
* Note that 1/4″ hardware would probably work too.
Tool Lists
- Chopsaw (or similar)
- Drill and bits (pick according to your bolt / screw sizes)
- Screwdriver
- Two small clamps
- Countersink bit (optional)
Step 1: Measure and Cut the Legs
Decide your A-frame height. I made each leg 5.5′ long which ended up giving me a spread at the base of 4′. This is nice having a consistent width at the base so that you know each of your flags when marking a contour is 4′ apart.
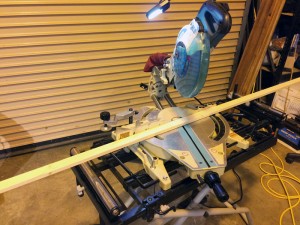
Take one of your 8′ strips of 1×2 and mark with a pencil your cut line, in my case it was 5.5′. Line up your cut line on your chop saw and rotate the chop saw blade horizontally to make an angled cut – mine was at 45 degrees.
Now take your other 1×2 and make the same mark and place onto your chop saw. This time rotate the chop saw horizontally the OTHER direction. This will make the nice point at the top where the two legs meet.
Step 2: Join the legs
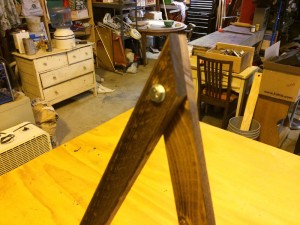
Lay the legs on the floor and match the angles tops up so they oppose and meet in at a nice angle. Mark the center of the top piece of wood and drill through both pieces. You can now bolt these two legs together using one of the shorter (2.25″) hex head bolts. Use a washer on both sides between the wood and the bolt head / wing nut.
Step 3: Center Spreader
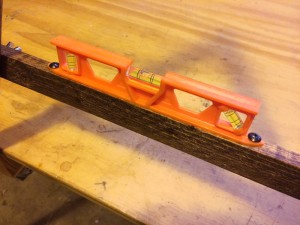
Stand up your A-frame level with the legs spread to the distance you decided on earlier. Take on of the end scraps you cut of the 1×2 and hold across the legs at the height you feel would be comfortable to read the level while standing. Mark this location on the leg. Clamp this side of the center spreader to the leg and lay your level on the center bar (temporarily). Check to be sure the center spreader is level (and be sure your ground is level you are doing this on) and now clamp the other side to the leg. Mark the cut point on the center spreader and mark the location of the center spreader on the legs (both sides). Remove and cut the center spreader where marked.
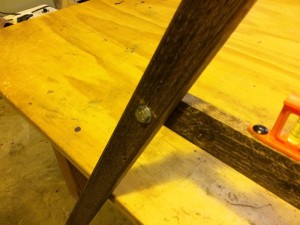
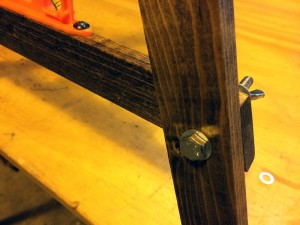
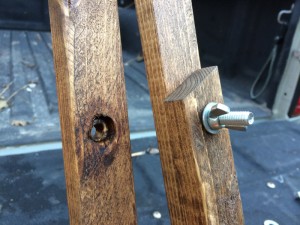
Next take the center spreader and lay it back down on the legs where you marked it’s location. Drill holes on both sides for the last two hex head bolts. On one side use the shorter bolt and on the other use the longer bolt (I’ll explain why later). Assemble with washers and wing nuts. Check to be sure the level says your center spreader is level once more.
Step 4: Attach / Modify Your Level
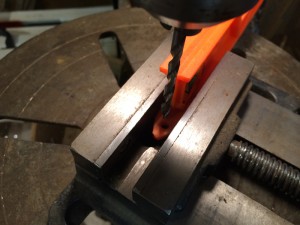
You can attach your level in many ways depending on what is is constructed of and how it can be modified. Some people simply bailing wire the thing in place. I opted for a more permanent route – I took a plastic level and using my bandsaw cut an “L” out of each corner leaving a flat section on the bottom where I drilled a 1/4″ hole and screwed it into my center spreader.
Step 5: Making it Collapse
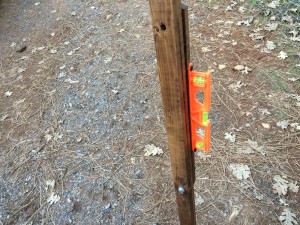
Go ahead and remove your longest bolt and slightly loosen the other two bolts. Swing each piece in towards one leg so it collapses on itself. The center spreader where you removed the bolt will rest on the leg it is still attached to, using the hole on the other side of the center spreader, mark the legs and drill another hole here through the legs (both). This way you can collapse the center spreader and run the bolt through all three legs and keep it together.
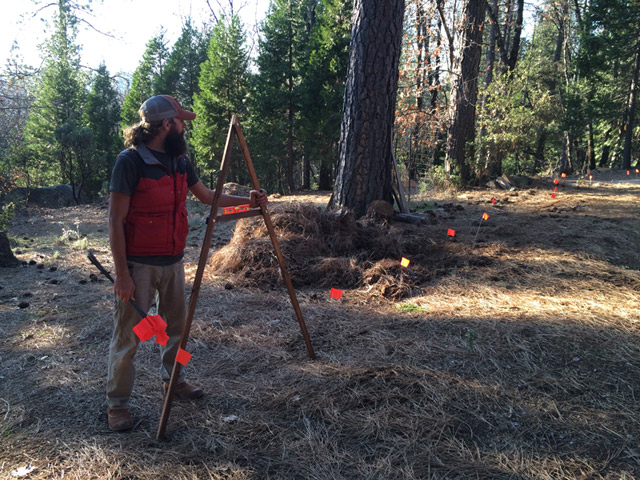
Step 6: Optionally Stain It
I opted to stain mine with some satin that was lying in the shop. Beyond that go out and play with it!





Thank you for this sweet A-frame. This is the winter I start working on my site in the southernmost Sierra foothills.
Great write up with great photos! im hoping to make one this weekend, cheers!
Sweet! Hope it went well Caleb!
[…] permettant de mieux drainer les eaux vers la baissière. Pour ce faire, nous avons utilisé un A-frame pour définir le tracé de la rigole (en lui donnant une certaine pente), puis des bêches pour […]