The clock is ticking, we need a home in 9 months. Our land has nothing but an old washed-out 4wd road and a well.
Where do you even begin with turning raw land into a homestead??
Hey! Did your read Developing Raw land into Permaculture Homestead in one Year – Part I or Part III Yet?
Steps to Developing Raw Land
I don’t know about you, but at first we were like kids in a candy store.
Wandering and exploring the forest, creeks and meadows. Looking at amazement at all the new hidden gems, little pockets and new scenery.
Fun as that might be, and with only 9 months to get a home together, it wasn’t time to play.
It was time to work.
Well – it was more like plan, work, take a dip in the river, then work some more.
Truthfully, the dip in the river only happened twice. So, it was pretty much just (fun) hard work. All. The. Time.
First things First – Planning
Right, the boring stuff first. Upside-down tractors and falling through floors comes later in the story.
Permaculture common practice says it is best to observe a piece of land for a year, before making any changes.
Well, we didn’t have that kind of time – we had to start developing right away.
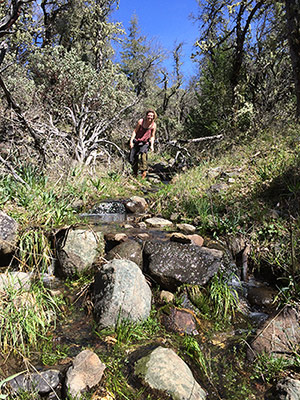
Thankfully I was able to see the land during the end of the rainy season, meaning I was able to note where the water was flowing, which is a major factor in site planning. This, along with long walks across many acres was enough to make a rough plan for our site, applying as many permaculture principles as we could.
Through observations, we were able to determine:
- The best location for access/roads that would also serve as water harvesting potentials
- The best locations for power and water lines based off future use (or lack thereof) of the areas
- Where to locate the water tank for gravity fed irrigation
- The best locations for buildings to take advantage of summer shade and winter sun for passive climate control
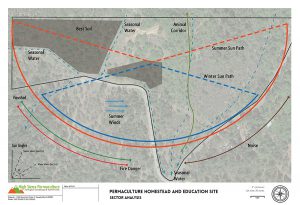 We evaluated the characteristics of the elements, the attributes of the land it was to be placed on, and what we needed. The intersection of these three was often our best bet for deciding where something was going to be placed on our site.
From here we were able to map out a rough initial site plan that accounted for future locations of major elements like pasture, gardens and additional structures.
Observing & Planning
Good planning comes from good observation. But how do you know what to look for?
Ecological observation and awareness is a large part of what permaculture teaches.
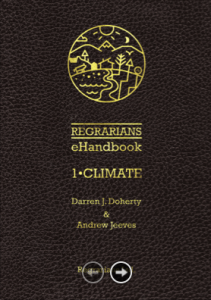
An excellent dowloadble resource for learning site observation and planning is Regrarians and their Regrarians Handbook.
Observation is a skill best learned in person.
If you are able to travel for classes there are two excellent courses on the west coast.
First is the Ecological Landscape Immersion from Permaculture Skills Center in Sebastopol, CA.
Second is the Optical Surveying PDC from Siskiyou Permaculture in Ashland, OR.
Access
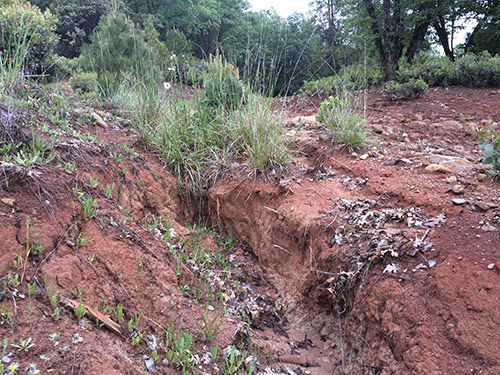
Yes, that WAS our driveway, eroding away.
This initial step was obvious – we needed to get on our land
We needed to get 1/4 mile long driveway in good enough shape that so that four-wheel drive wasn’t necessary. In muddy weather, we couldn’t even make it up without sliding back down the driveway.
There were major erosion issues and head cuts forming that resembled a mini Grand Canyon on one side. Small trees and shrubs growing back over the road.
Road placement on the land is a huge deal – a badly placed road can be a major headache and can cause erosion issues or even accidents.
Check out the Handbook for Forest, Ranch and Rural Roads, for great information on low-standard road development.
To our surprise, the old driveway was perfectly placed, heading up a dry ridge-line to the highest point on the land and turned on-contour gently landing on the top of the hill.
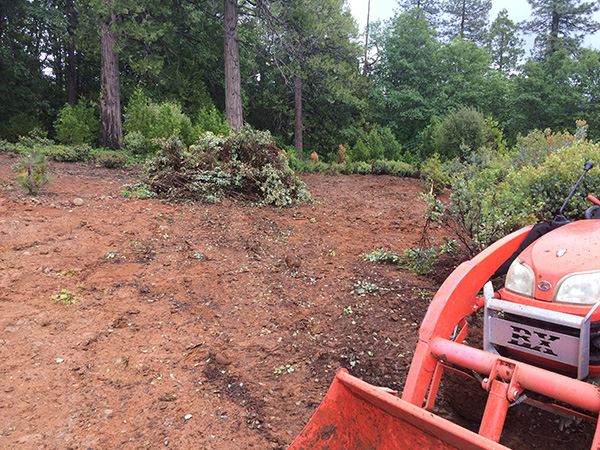
The last bit of brush clearing before grading.
This is how you want a steep driveway designed, so I decided to keep it where it was and just clean it up.
However, I will admit, the little boy in me really wanted to rent a bulldozer to make my own. Maybe next time.
We cleared the brush and re-graded the driveway back into shape. In order to maintain winter access, the road needed to have a road base put down.
We found a local gravel company that utilizes rock byproduct from other manufacturing, therefore minimizing the use of fossil fuels and environmental destruction since it’s already being created.
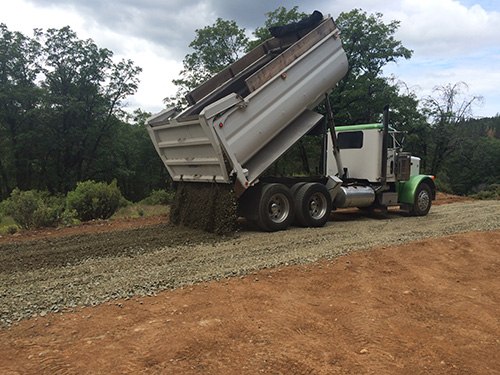
They brought in 3 truck and transfers and laid down 72 tons of gravel to establish the road base.
The trucks came in and BOOM, insta-driveway. Pretty gratifying.
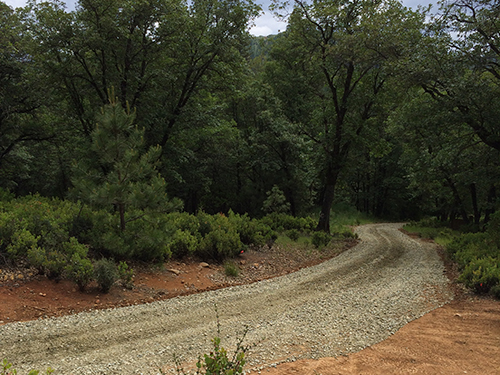
AWESOME – now, a car or semi could now drive to the building location. This made it possible to set up a camp for sleeping and preparing meals. It also meant we could safely get building materials onsite.
We are ready to start building. But what in the hell do you even build first?
Moving A Building Like the Egyptians
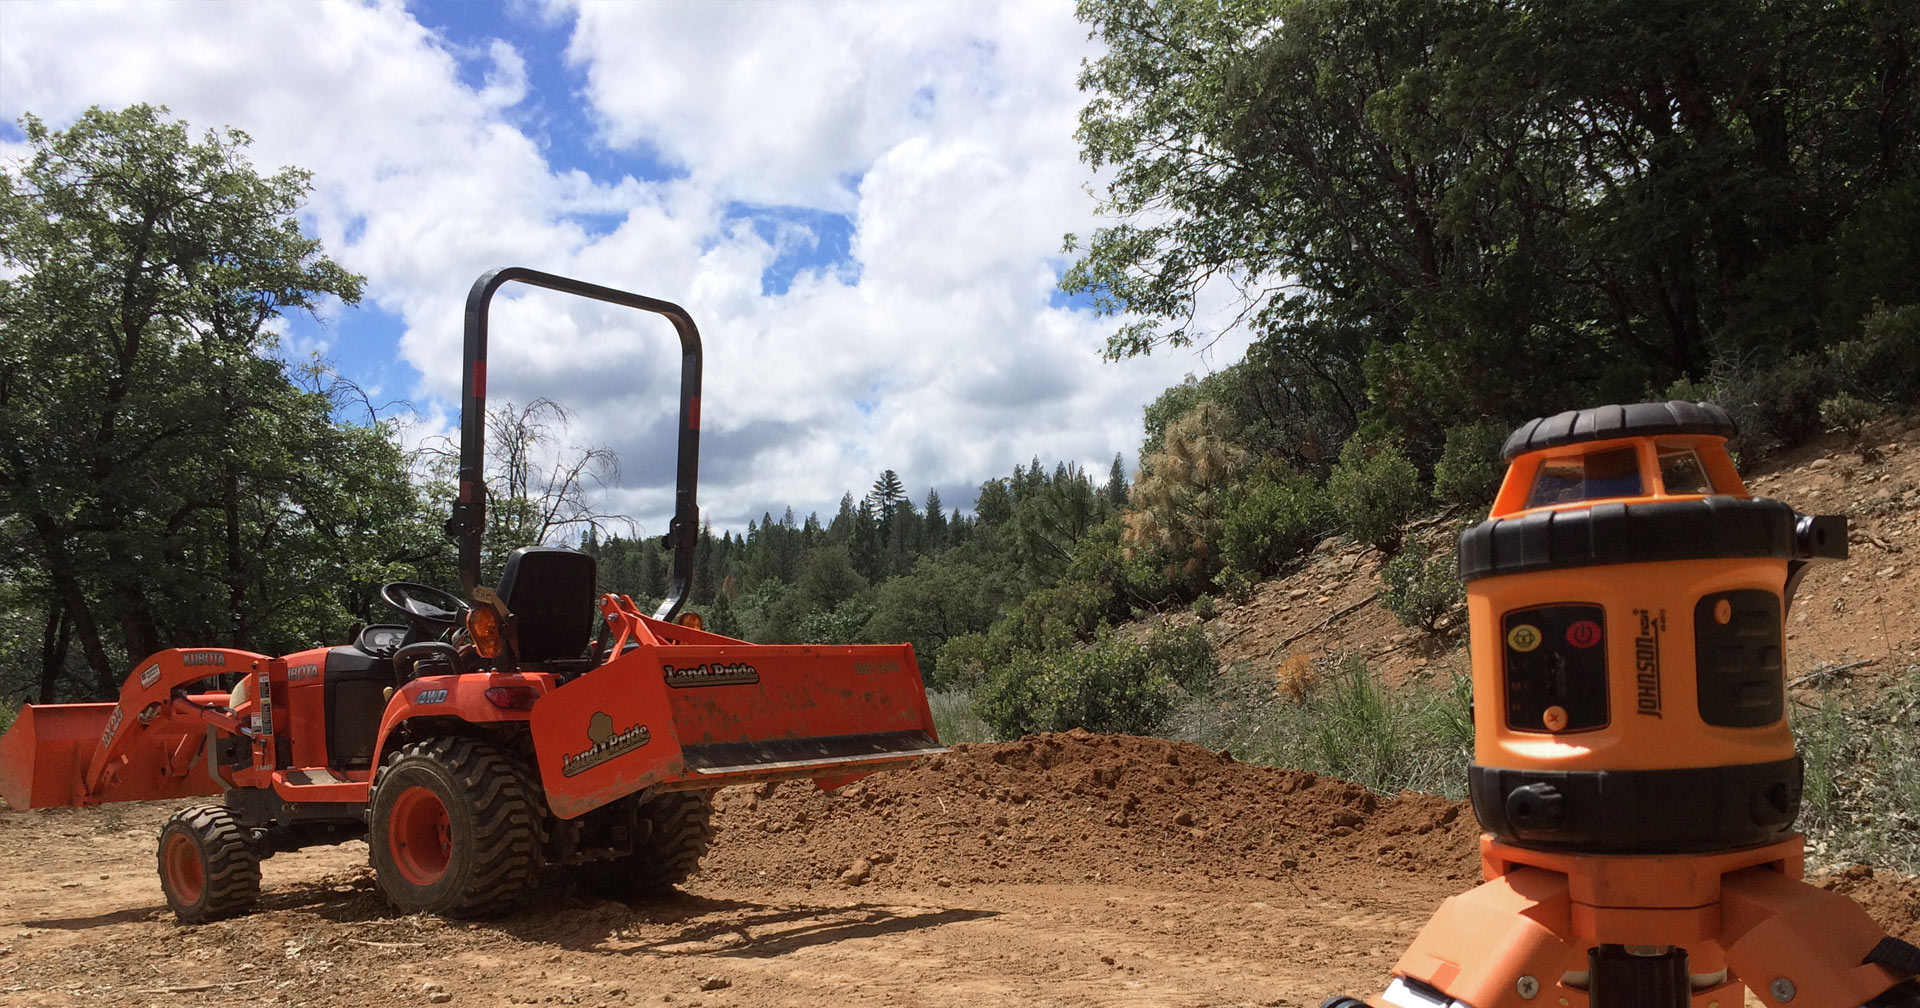
Developing land means you need tools, lots of them.
If you don’t have them, then you need at least chainsaw, an ax and a super huge beard (yep, even the ladies) to make up for the lack of tools. Flannel shirts and Carhartts can add Paul Bunyon-like strength.
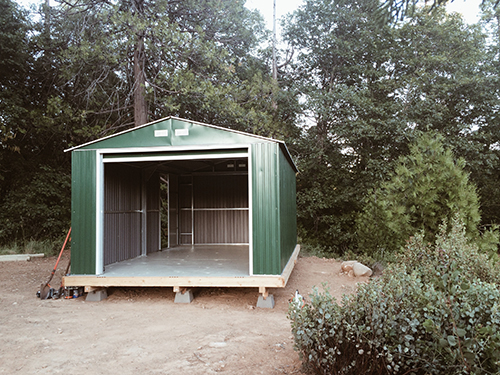
In order to build anything, our tools needed to be onsite and stored safe from weather, so building the Shed Shop was the next logical project.
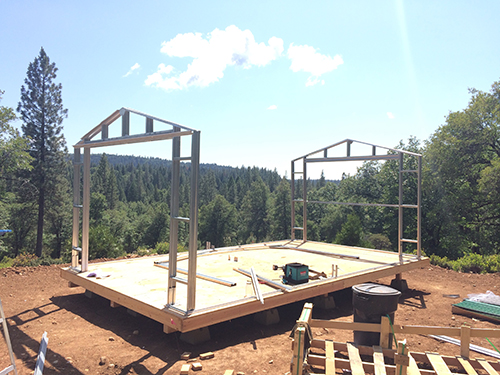 In the “design phase” we selected an existing flat spot that was in-between the future garden area and homesite – in hopes of splitting the difference with our walking time between these three common areas.
So this is where we built the platform.
Then we started to erect the shed. Quickly we saw why it was cheaper than a stick frame shed – there were a million #@&!%! pieces and complicated directions.
Don’t buy a metal prefab kit. Just don’t.
But nonetheless the homestead gods were both potting against us and smiling at us at the same time.
Feedback Loop
As fate would have it a fellow homesteader decided to come by and check out our progress and ruin it all.
As we walked off into the woods exploring, he said, “This is a very nice spot, how about building your home here?”
Truthfully we had not considered it, as it was densely wood, along with 26+ other densely wooded acres. But it WAS the perfect spot.
Changing the location of our home also meant an even better spot for Shed Shop was opened up.
This is the ever important feedback loop.
As we make changes to the landscape or site plan we need to be constant re-evaluating everything else in relation to those changes.
I suppose that it is better to move a building that is 85% done as opposed to 100% done, right?
Enter the Egyptians
We took Shed shop all the way down to the platform, fortunately being able to retain large parts of the setup.
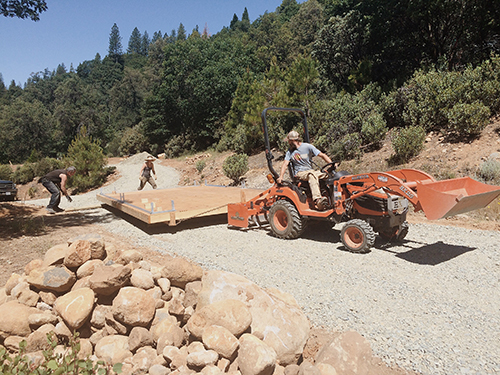
Our hair-brained ideas was that we could put logs underneath the platform and drag it with the tractor.
Sounded simple enough, right? No.
They did not ‘roll’ nor did they stay perpendicular to the platform as envisioned, but somehow we made it to the new location and everything was mostly intact.
Let There Be Light!
Now that our tools were stored, we needed to power them.
While solar is our ultimate goal, due to cost and loan parameters, we needed to tie to the grid initially. Thankfully our power company is 50% solar powered – so it also made us feel a little better about grid-tying for power.
When you buy raw land, power can be one of the largest costs for getting infrastructure going. In our case, there was already a transformer onsite, making this relatively inexpensive compared to some stories we’ve heard.
But of course it couldn’t be that easy. The location for our structures was approximately 750’ – almost as far as you want to go with power lines (that the average Joe can afford). It requires expensive heavy-gauge wire and a very long trench.
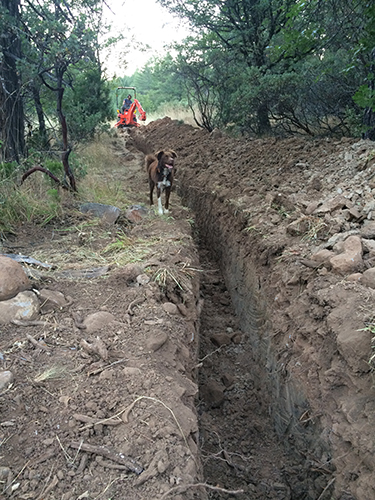
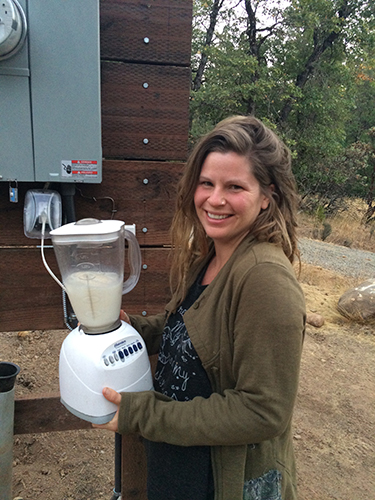
Most suburban homes have 200 to 400 amps of power available.
We wanted to use power only as a necessity, not as an endless luxury, so we opted to run our entire homestead off a single 100 amp panel.
Breaking Us In Easy
The amount of time and energy it took to get us this far was incredible!
But things seemed to be going incredibly smoothly so far and it was exciting to actually have power on site.
This gave us a second wind of energy to push to get water flowing and to get us living on the land full time.
This story if far from over. Bears, upside-down equipment and more is in store.
What’s Your Story?
Tell us about your homestead adventures in the comments below!!



Where is part 3??
I just happened upon your website from pintrist. Hello from a fellow homesteader….well…trying to be!
We saved what was left of my families non working farm in 2016. (37acres)
My great grandparents raised their 14 children here and built the house we are now renovating! We moved into the old farmhouse last year and it has been an ongoing adventure to say the least! The farm has multiple springs that I want to at least tap into one to feed the well. (When my cousin lost his 87 acres of the family land he lost the spring that fed the house…. :(.
So it has been a struggle! The land is grown up, and honestly I have NO CLUE what I am doing! I have 4gardens and having issues on where to place our orchard, perennials and other permanent things. So I am diving into reading all I can on permaculture and loving reading your story! 🙂 Happy Homesteading from Central Kentucky ~Shaina~ Grace Homestead farm
Love it Bret, just found you mate.
My family & I are in Australia – bad bushfires as I write, which is what my wife & I do working for National Parks.
We have a five acre heavily wooded property with a creek with fish & platypus.
The soils clay which we are trying to improve.
We built a big open plan house with mezzanine.We are totally off grid.
After reading this I can see a great need for a kubota tractor .i could do much more with one of these.
I am keen to learn permaculture & glad I found you keep up the great work & if you in Oz anytime stop in – got plenty of room.
dAZ
Is there a part 3?
Hey Susan, It might seem daunting, but broken up into smaller tasks over time and it will become something that is accomplishable 🙂
Do you consult early one before the land is bought? Trying to figure out how much we need for what I have in the prospectus.
Yes, I do consult early on and you are right in wanting to get a rough idea of how much land is needed. Even as a general idea 1-5 acres is great for small homesteads with maybe some animals. 10-30 is enough land to star having animals graze. 50+ is starting to get to the point of having enough land to provide timber for construction, heat lots of pasture for grazing etc. Bare in mind it also depends on how much of the land is actually useable and accessible 🙂
I love hearing more of the specifics of this wild and amazing year you and Beth somehow navigated. It all amazes me!! So glad to see you have created such an amazing space to share your brilliance, toolkit of skills, passion, and vision. Right on!
Thanks Leah! Would be fantastic to have you over next time you find yourself in CA!