You know those days where the big thing you have been waiting for – maybe for months, or years – FINALLY happens?
We had been dreaming of living on our own land for years and this was when it became a finally reality.
At this point, there was now a driveway/access road, a tool shed and power. Power meant we could now pump water from the well, the final component left for us to be able to live on the land.
In case you missed Part 1 and Part 2 of turning raw land into a permaculture you can start here for the whole journey.
Water is Life
The water system is the heartbeat of a homestead.
It was very exciting to design it ourselves because we were able to create a system that would use as little energy as possible and would function, at least in part, without any power.
The water storage tank was placed on the highest hill so that it would have enough pressure to gravity feed our farm, which is located on the lower parts of the land. Water is pumped from the well up to a storage tank that holds 2500 gallons and then distributed from there.
When you buy land, raw or not, a well test is a must. You want to know how strong it is and if there are any issues with the water.
Our well was tested at a strong 60gpm, which allows us to do about any reasonable homestead-scale agriculture enterprise. However, the well tests showed that our water was very high in iron, which meant for household use it needed to be filtered.
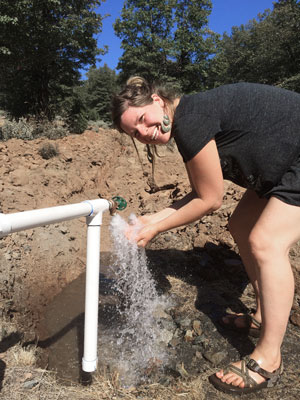
With water lines already in place underground, the only thing left to do was connect it all up and let the water flow in all directions over the land!
We felt like royalty watching water flow from even a single hose spigot.
Moving to the Land
This was THE day. The day we had been waiting for.
It was moving day. For months we had been living in the 5th wheel on our friend’s land, and it felt surreal as we hitched up trailer and moved this temporary home onto our own land.
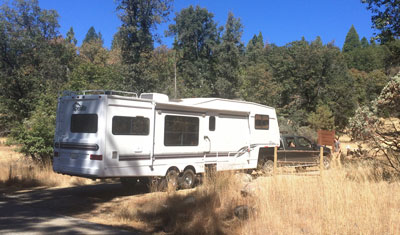 A pad at the top of a hill had already been prepared for it’s arrival – leveled, with power and water ready. Our view now overlooked many acres into the valley had has expansive 180 degree views.
It was a big moment to finally be resident stewards of this land.
Even though our temporary trailer home was now onsite, we still preferred doing some things simply, such as cooking meals.
Beth had built solar oven (that may not have looked pretty), but worked incredibly well and required no energy. It got a lot of use, especially on the hot summer days where you want to keep heat from cooking, outside.
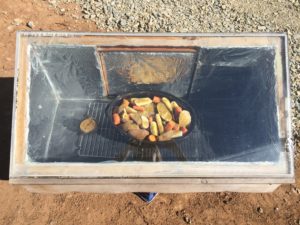
Cooking with the sun in our solar oven
If you’re not familiar, it’s amazing what a small solar oven can do – we cooked pot roast, chilis, pulled pork, baked potatoes, chicken thighs… really anything that you’d typically put in a crockpot.
It’s a fun off-grid permaculture gadget and simple to make.
Being able to work on the building projects any time of day meant things started happening quicker and it felt like we might actually meet our deadline that was looming.
Close Encounter
Of course, living on the land 24/7 meant we got more acquainted with it and its inhabitants rather quickly. We had seen signs of many animals – noting that particular claw marks and ravaged trash cans meant our home was also shared with bears.
One evening just past dusk, I was heading toward the delicious smell of dinner coming from the 5th wheel. There in the dark I saw a large but subtle silhouette about 10 feet in front of me.
I didn’t know exactly what it was at first, but my body sure did. I felt it in my spine – between me and the 5th wheel was a big black bear!
His body became visible as he huffed at me and bolted up the hill and back into the woods, leaving me a little more than startled. I suppose he seemed started too!
After that, headlamps and more caution were definitely more of a priority since we learned that we also had bear cubs on the land. Fortunately, we have all learned to respect each other’s territory and haven’t seen any bear signs in awhile.
Insta-house (kind of)
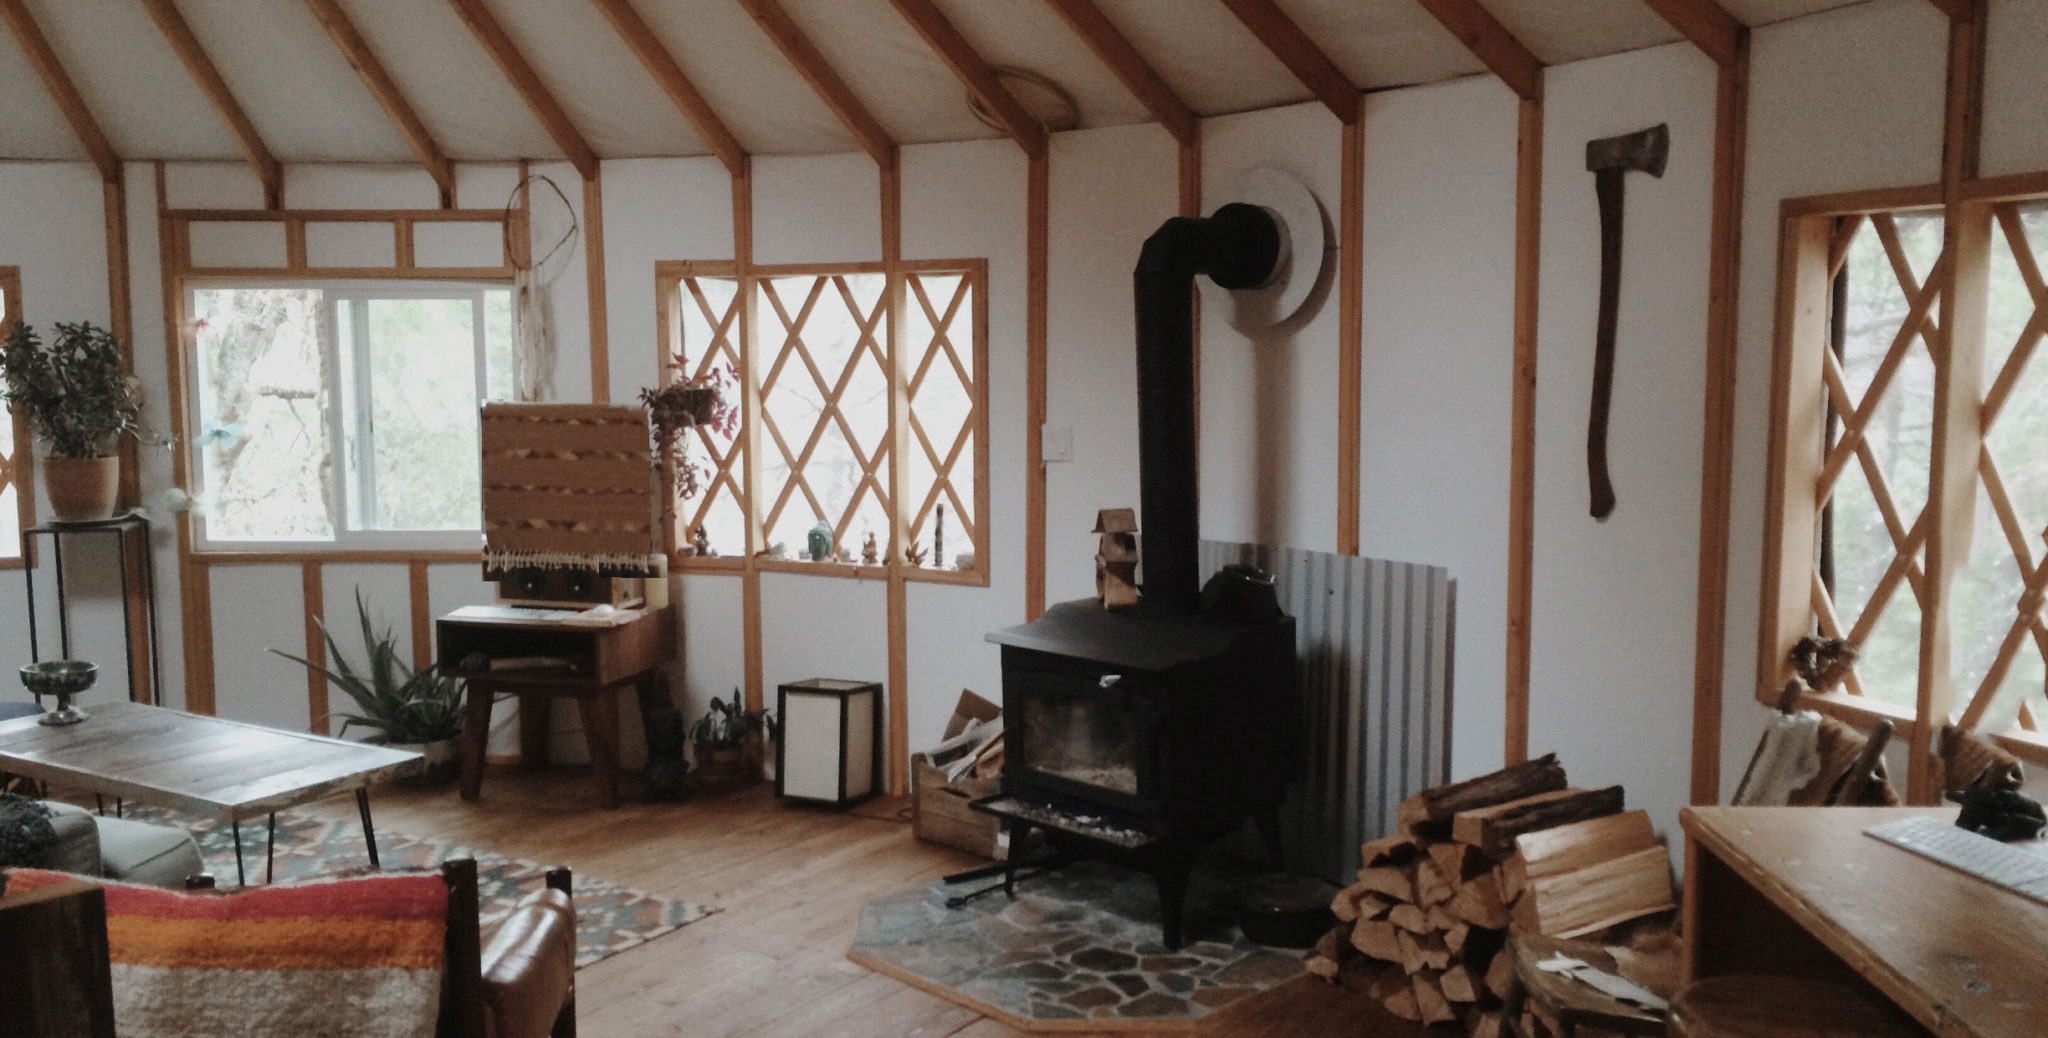
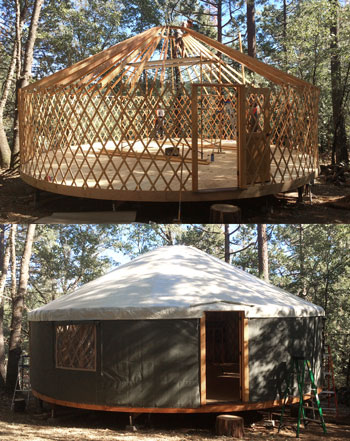
With the essentials now in place, it was time to start building the yurt.
We had 4 months until our little guy would make his appearance, which meant, we had only 4 months to get done whatever was necessary!
It was no small feat, getting the yurt foundation in place. Having never built a large structure like required lots research and learning on the fly. Leveling, concreting piers, building the structure, insulation and flooring took much, much longer than anticipated.
However, in the nick of time we finished the platform – just before the yurt and crew of family and friends were to arrive and help us raise it.
The Pacific Yurt kit was beautiful, simple and fast. It was literally the opposite experience most have when putting together something from a kit (ahem, like anything from IKEA).
First, the lattice walls are set in place. Next the rafters and then the dome. The following day the exterior liner, insulation layer, canvas roof and walls went on and – BOOM!
We had an enclosed home in just 2 days.
It was so gratifying to make that much progress in such a short time because many of the homestead projects thus far had been slower that we anticipated.
But alas, there was still so much work to be done.
We continued nose to the grindstone, and worked feverishly to install electric wiring, plumbing, a wood stove, kitchen and more.
There was barely a breath taken during that time – every hour was filled with sourcing supplies, planning, designing and detail work.
A month after the yurt was raised, we built an attached stick-frame addition that would become the bedroom, bathroom (with composting toilet), and nursery.
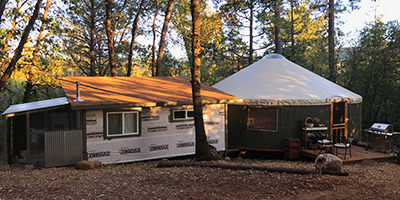 It was not nearly as simple as the yurt had been, but in 10 days we had it built and enclosed, just in time for more rain. As in, it started raining AS the last sheet plywood was being laid on the roof.
At this point, needless to say – we were exhausted and worn thin.
Pressing on each day was sometimes brutal, but now it was T-minus 7 weeks till our little one was to be born and we still didn’t have hot water. For the record, I’m sure we could have lived without it, however, we wanted to be done with major tasks so we could focus on our baby, not homestead tasks.
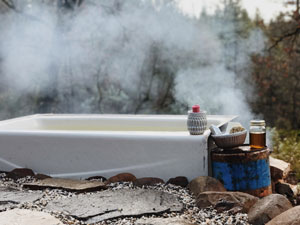
Wood fired bath tub
It was around this time, I took a few hours to build this wood-fired bathtub from recycled materials we had salvaged.
It was positioned it on a slope and with a pit underneath the cast iron tub for the fire. The trickling creek just a few yards away, stars above and hot springs-like water made this a wonderful place to rest our weary (exhausted, beat up, tired beyond belief) bones.
Somehow, with 3 weeks to “spare” all the major functions in place allowing us to move our belongings into the space and complete our nest.
It’s now a year later and there’s still a bit of detail work to be done, but… that’s homestead life.
This, of course, is just the cliff notes of building our home.
The Reason For it All
 Sequoia James was born January 27th.
After being among us almost every single day since we bought this bare piece of land, he was finally here, earth-side.
Turning this land into a home in such a short amount of time was hard.
So very hard.
However, his impending arrival gave us the motivation to push ahead with more gusto than we even knew we had. While we had a sustainable homestead vision before he entered our lives, it became much more of a priority to make our homestead into the world we wished for Sequoia to grow up in.
We wanted it to be a home that provided needs like firewood for warmth, food for his belly, connection with the land and nourishment for his soul.
As we raise him, it’s exciting to know he has all this land to explore, gardens of fresh food, animals to befriend, and the natural world to learn from.
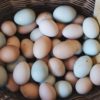
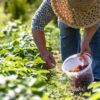
Chickens and Permaculture
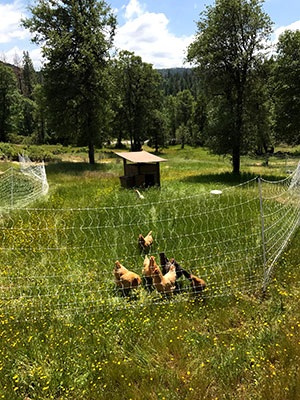
Pasture Poultry
What’s a homestead without chickens, right?
We had kept chickens for the past 3 years, so, the first order of agricultural business on our homestead was to get some chickens grazing in the pasture.
For us adding chickens was a breeze.
There were many acres of dry-land pasture already available on the land for the chickens to roam. We also still had the first coop we built years prior and some electric fencing.
A friend had some laying hens that needed to be re-homed and so those ladies became our new flock.
With eggs in production, it was time to move onto our first fun permaculture project I had been eyeing.
PS –Want to know how to easily introduce chickens into an existing flock?
Rainwater Harvesting
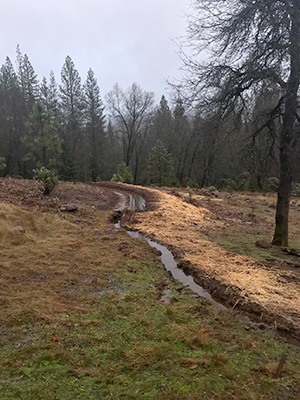
Harvesting rainwater into our swale / rice paddy
It was important to integrate permaculture principles right from the start, and water harvesting was at the top of the list.
That first winter dropped over 100” of precipitation in six months – an insane amount of water!
I took careful note of how water was flowing through the land and set out to cut some water-harvesting swales and redirected water from places that were saturated into dry places that needed hydration.
The meadow was a prime place for these swales since it was saturated from natural springs and runoff. This swale would also become a water source for the orchard that would be placed below it.
Garden and Orchard
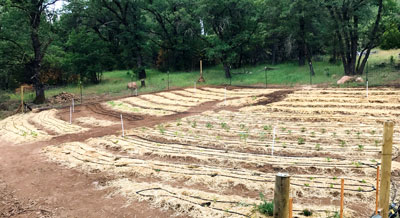
Starting to plant new garden – notice the bed rows on contour
Last, but not least, we constructed the garden, just shy of 1 year owning the land.
Using many permaculture tools, I identified the ideal location for our garden: a gentle slope, good soil and plenty sun. it was also tucked the garden against the forest on the west side, which cut out the harsh late afternoon summer sun that can often scorch plants in our area.
Want to know the best place to locate your garden?
Once the area was cleared, about 1/4 acres of garden space was fenced and garden beds placed on-contour, which helps catch and distribute rainwater as well as reduce soil loss.
And of course, don’t forget your permaculture layer of mulch!
In addition to the garden, we added 8 fruit trees to start the orchard, placing them below the swale to utilize some of the rainwater we were harvesting.
Our farm and garden vision includes much more than this, but starting small and doing projects in iterations are all a part of permaculture and homesteading.
Are You Exhausted Just Reading This?
This homestead and the pace in which it was built was, as I mentioned before, exhausting. But it worth noting that it’s also totally doable, especially if you’re timeframe is a bit longer than ours.
Is developing raw land for everyone?
In reality, it is probably not for most people due to the amount of time, energy, skills and money it can take.
But for some, perhaps those who are okay living without all the modern convinces or hardcore do-it-yourselfers (or those just a little bit crazy, like us), it might just be an adventure you’re willing to consider.


It’s 2022. I’m ready for your fourth update!
We’re in the middle of buying 14 acres of wooded land. Very nerve wracking and a lot of unknowns.
Gorgeous little guy! So enjoyed reading about your adventures.
Awww thanks Berda 🙂
Hi Bret, enjoyed this post – Chas from AK
Thanks Chas!
I really enjoyed reading about your experiences! It was great of you to share them! Congrats on the new addition, he’s a cutie!
My wife and I are considering developing raw land for a homestead, but I have no idea where to start! This blog really helped with the decisions. 🙂
THANKS!
Hey Rob! Awesome, so happy sharing this is of value to you two. Be sure to let me know if there are any questions you want help with directly, just post them up in the comments 🙂
We just started turning our land into a farm – thanks for the inspiration!
Sweet! Thanks for saying so 😉